It started with the PSL hoopla at Starbucks. Next, the seasonal shelves at grocery stores were filled to overflowing with "fun size" candy. Costco put out an impressive display of Hulk and Princess costumes. A Some eCard meme popped into my Facebook feed, "If you say 'Pumpkin Spice Latte' in front of a mirror, a yuppie in yoga pants will appear and tell you how much she loves the fall". Finally, the trees started to turn color, the weather crapped out, and my chickens exploded again.
It's official: fall has arrived and with it, pumpkin season.

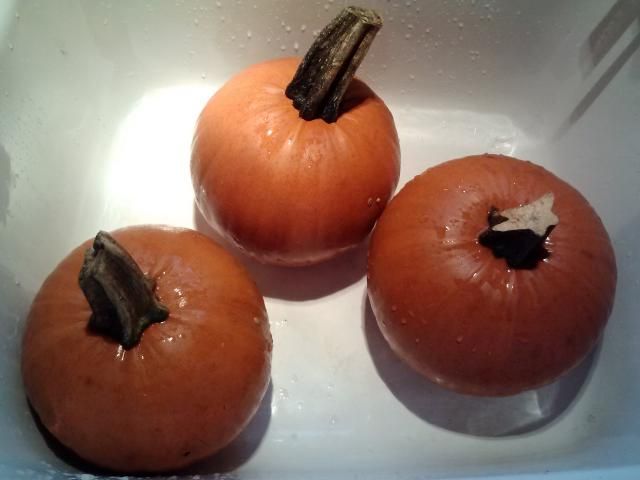
Other people come home with unexpected purchases like shoes, candy, hot tubs (my parents got one at the fair on a whim when I was in 6th grade), or pets. Not me. Last weekend I succumbed to an impulse buy and picked up three sugar pie pumpkins from Sterino Farms for $1 each. As I checked out, the teenaged cashier mumbled something about only charging me for two of them. I recently paid somewhere in the neighborhood of $7 for 3 cans of pumpkins at Costco, so $1/pumpkin is a good deal.
I've done this before, bringing home pumpkins with good intentions. I always promise myself I'll can them. Some years I have, and other years the chickens have been the willing recipients of a deliciously rotted pumpkin sometime in January.
This year I pledged to take care of the pumpkins asap. I put them in the kitchen, where I proceeded to trip over them for a week.
Last Saturday was one of just four days Gene and I have had off together since July. Once he and Kaelen were fed for the morning, I got to work.
Canned Pumpkin
Instructions from the National Center for Home Food Preservation
MATERIALS
pressure canner
canning jars, lids, rings, lifter
very sharp, heavy duty knife
horizontal vegetable peeler
INGREDIENTS
sugar pie pumpkins
water
INSTRUCTIONS
1. Get your pressure canner and jars ready.
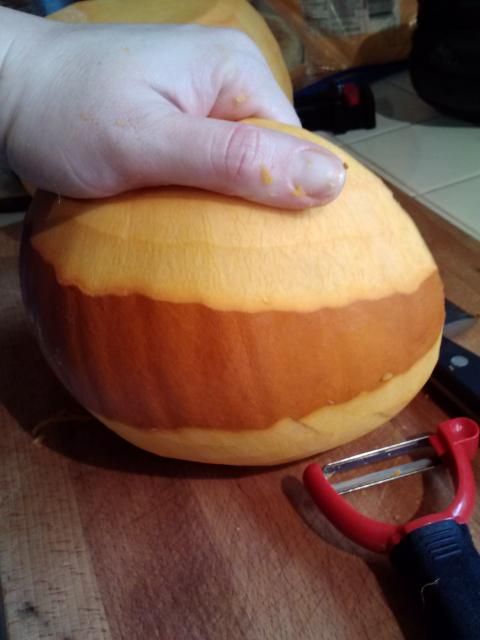
2. Prepare the pumpkins: wash, cut in half, seed, and peel. Prep tips:
- Cut off the end of the pumpkin to give yourself a flat, stable surface while peeling.

- I found it was easiest to peel the pumpkins going parallel to the counter. When I went perpendicular, my knuckles hit the cutting board whenever the peeler slipped.
3. Slice the pumpkin halves like you would a loaf of bread, not in wedges. Not only will this give you more uniform pieces but it's also safer because you're not angling the knife.
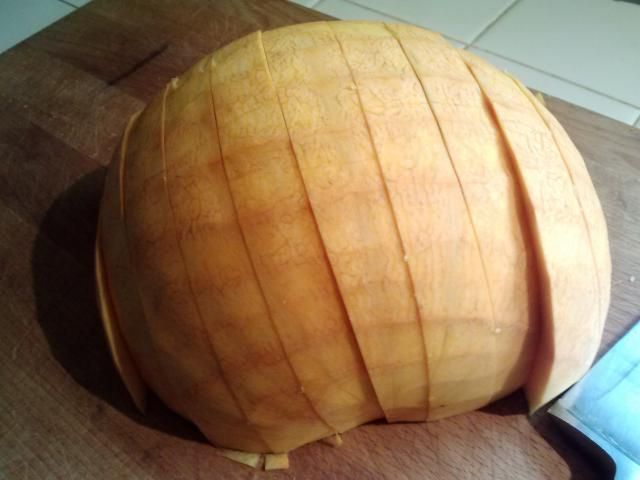
4. Cut the pumpkin slices into 1" pieces.
5. Put pumpkin pieces into a large stockpot and cover with water. Bring to a boil and cook for 2 minutes.

6. Ladle the pumpkin into the jars, leaving 1" headspace. Don't mash, puree, or cram the pumpkin into the jars. Remove air bubbles and process according to the NCHFP tables found here.
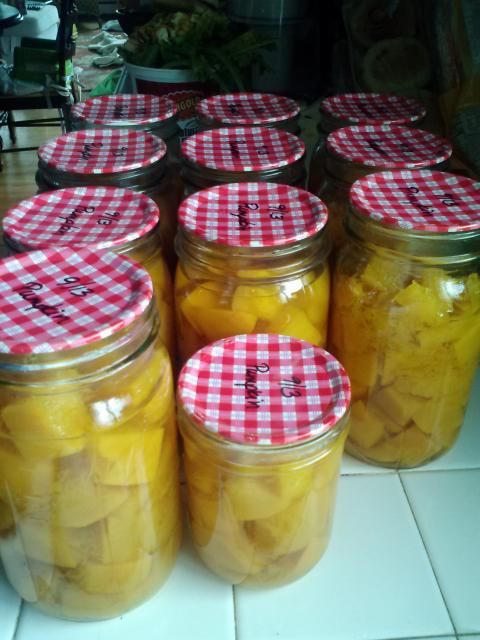
My 3 pumpkins gave me 11 quarts (1 didn't seal and became soup) and 1 pint. After leaving them on the counter for 24 hours, I washed them and put them in my canning shelves.
Based on past experience, each quart yields just over 2 cups of pumpkin mush. Some siphoning is normal and as long as the seal is strong, the pumpkin will keep just fine.
To use the pumpkin, simply pour it out of the jar into a sieve. The drained pumpkin cubes will be soft and easy to use the same as you would a can of pumpkin from the grocery store. Mine will become bread and pumpkin scones (damn that Starbucks for getting rid of them!).
Need ideas for what to do with pumpkin? Try this site.
No comments:
Post a Comment